Creating a Bot User
Info
To create a bot application your Discord account must have a verified email address. It is also recommended that you enable 2-factor-authentication to secure your account.
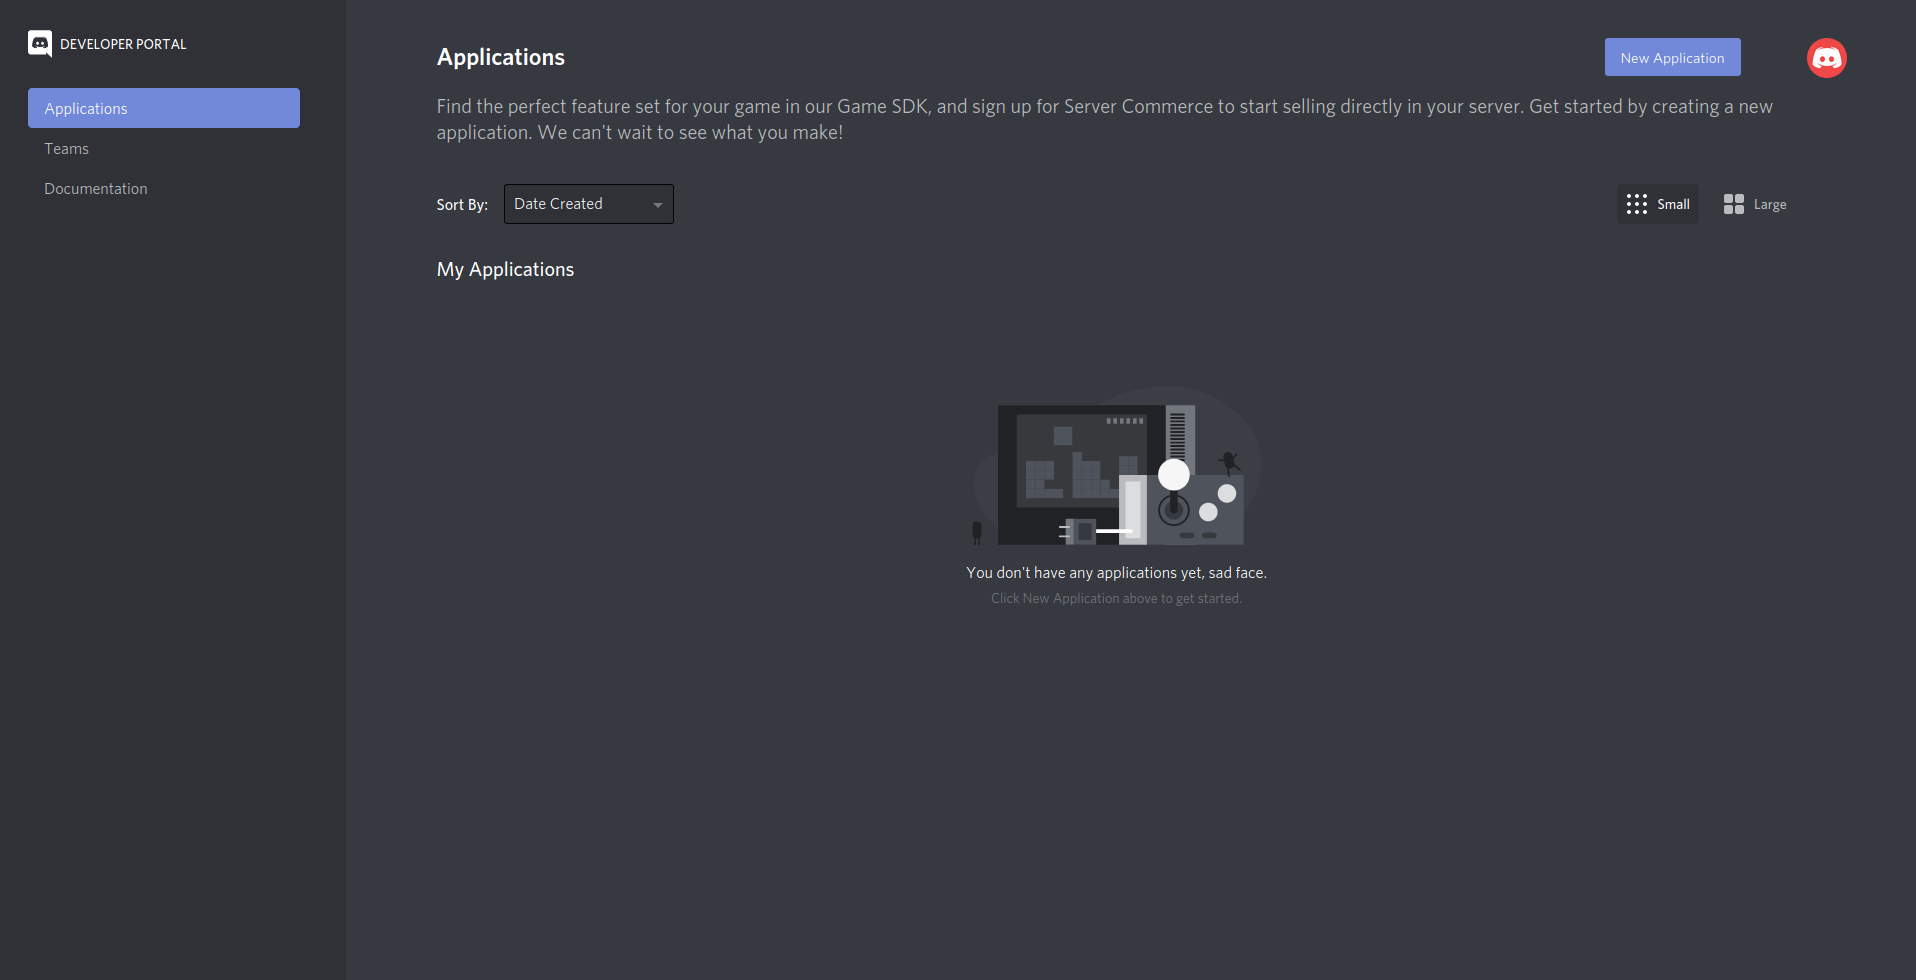
The first step in creating a bot is to head over to the Discord Developer Portal where you'll be asked to log in to your Discord account if you're not already signed in. Once you've logged in you'll see a screen like this:
You can now click the shiny blue New Application button in the top hand corner to get started creating a new application. After you click it you should see a box like this pop up:
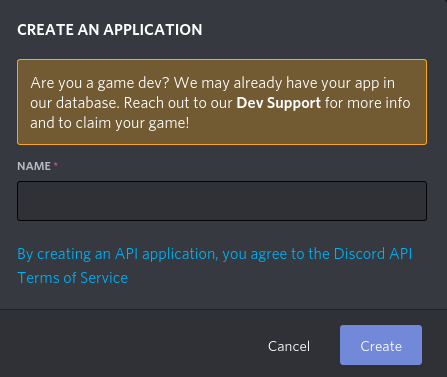
Enter a suitable name for your application, and make sure that it follow Discord's Terms of Service. This applies to the entire tutorial too - you should not be using this tutorial for purposes that violate Discord's Terms of Service, Community Guidelines, or Developer Terms. You can read the Terms of Service here, and the Developer Terms here.
Warning
As a rough overview here are some things you should know about the ToS:
- Don't abuse the API.
- Don't harass users.
- So don't randomly DM or spam them.
- Don't spam Discord.
- Generally actions performed by a bot should be caused by some user action like sending a message or adding a reaction.
- Don't post NSFW content in channels not marked as NSFW.
- This may seem obvious but a lot of bots allow NSFW content to be posted outside of NSFW channels. This is not allowed.
For the purposes of this tutorial we'll be using the name WumpusBot, and this will be referred to in other places in the tutorial, for example screenshots of commands.
After creating an application you'll see a screen like this:
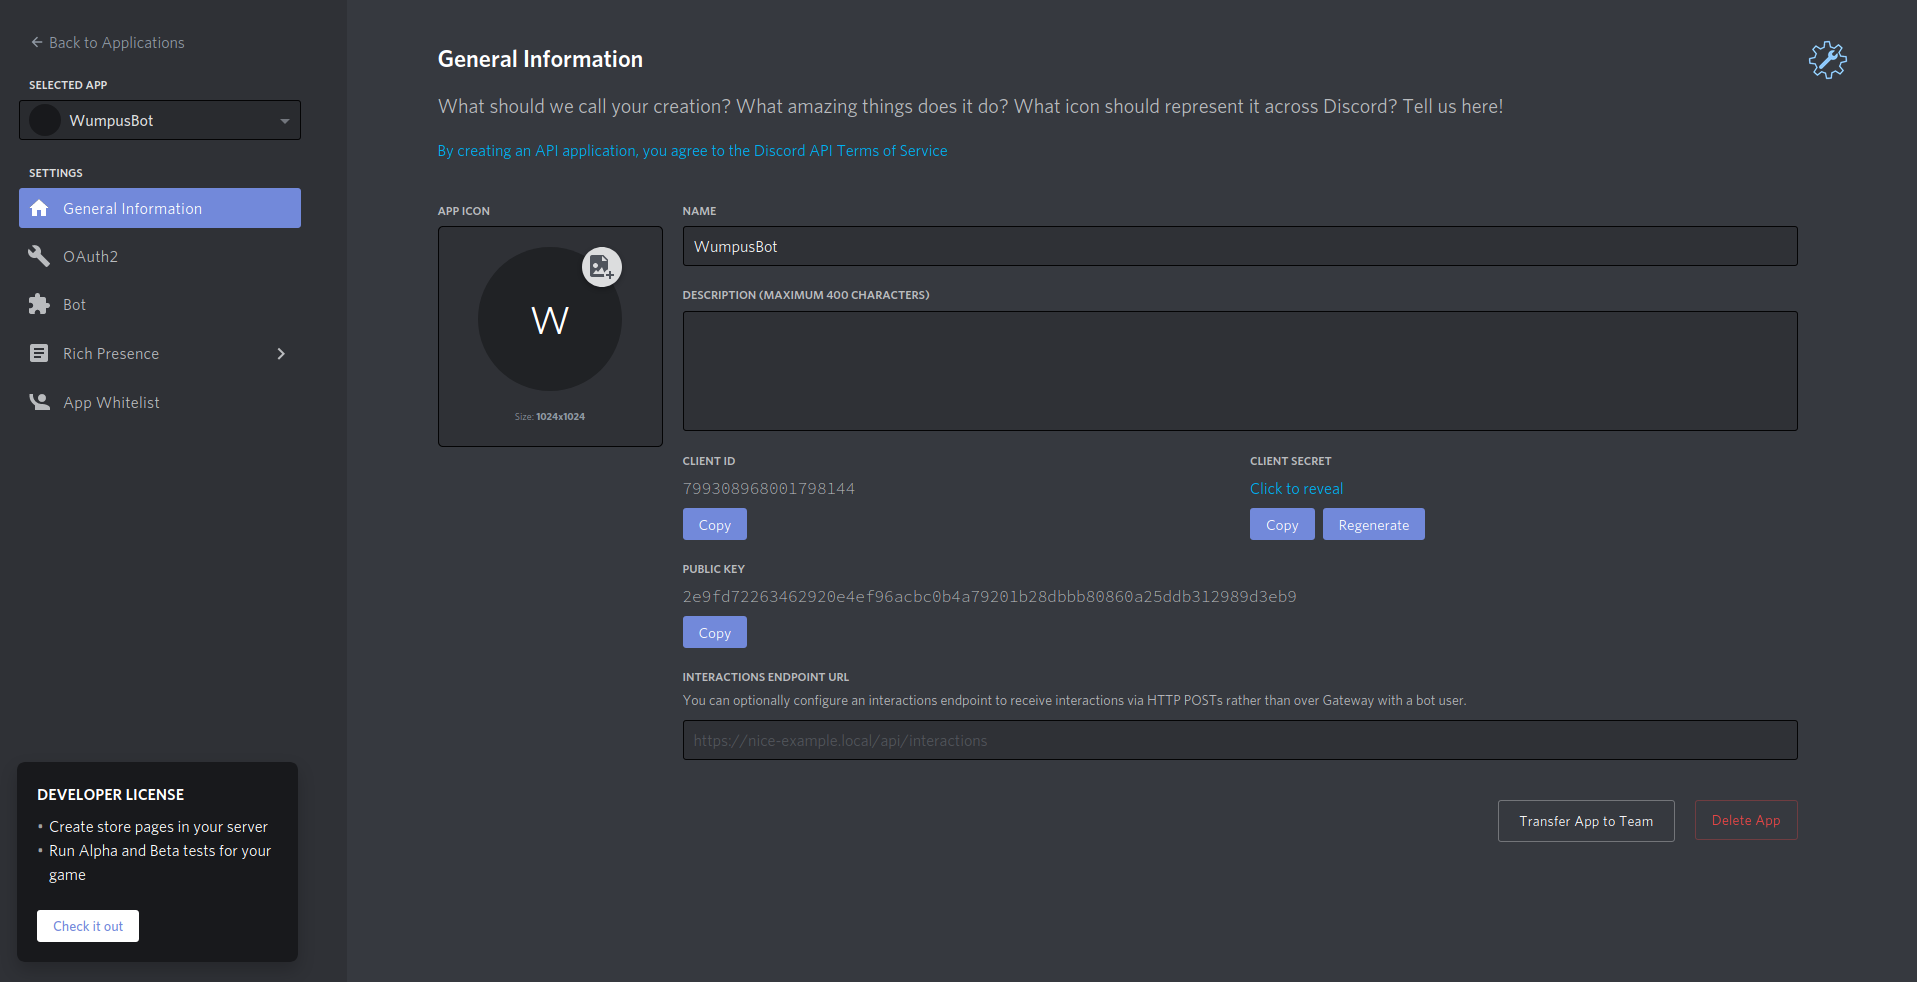
There's quite a lot of information on this screen, so for now we'll ignore most of it since it's out of scope for the beginning of this tutorial. Click on the Bot tab on the left hand side (marked by a jigsaw piece) to switch to the bot page. On this page you'll see a button that says Add Bot. Clicking this will prompt you asking whether you're sure you want to create a new bot (you can't delete bots since they're too cool to destroy), click Yes, do it! and now you have your very own bot.
After creating a bot your screen will change to look like this:
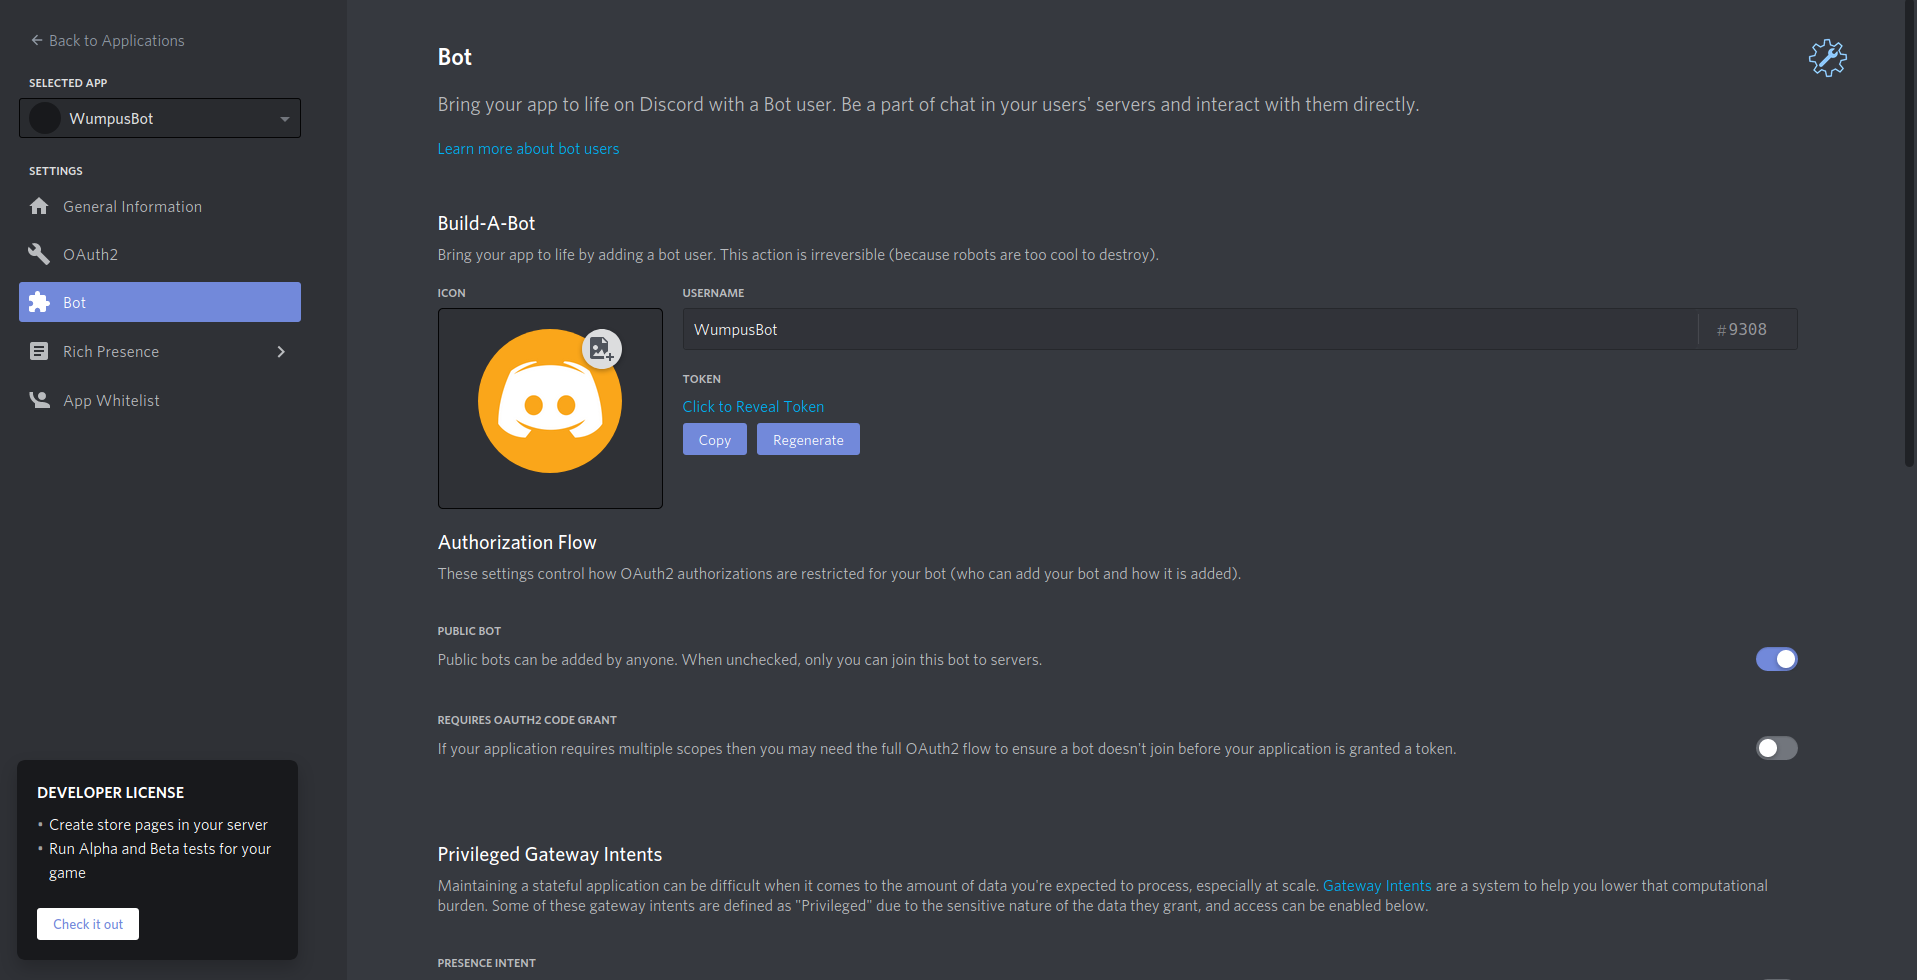
Below the username box you'll see a button that says Copy which copies your bot's authentication token to your clipboard. You'll want to keep this token safe and on hand so your bot can connect to Discord later on in the tutorial.
Warning
Make sure never to post your token anywhere publicly, else people will be able to log in as your bot, and perform actions against the Discord API as your bot. If you believe that your bot’s token was leaked, be sure to go to it’s developer portal page and click the Regenerate button to regenerate the token so that nobody can use the old one.
Finally for this part, you need to add your bot to your server. To do this you first require the Manage Server permission in whatever server you plan on adding it to. You’ll want to head over to the OAuth2 tab on the left of the developer portal (marked by a wrench), where you’ll be able to choose the scopes you want for your bot. For now, just select the bot scope, as it’s all that will be needed for this tutorial - at least at the beginning.
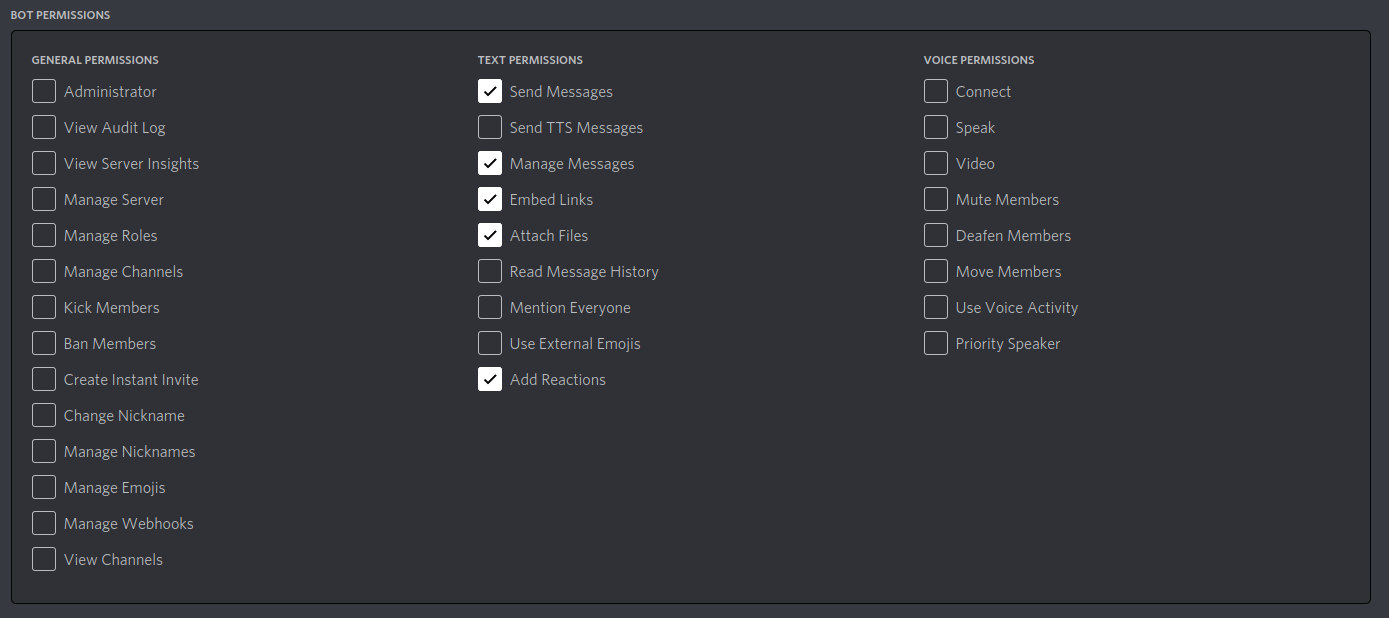
Now you’ll want to choose permissions for your bot based on what you want it to do. For WumpusBot, I’ll start by giving it Send Messages, Embed Links, Attach Files, Manage Messages, and Add Reactions, although we may need more permissions later, but that will be handled within Discord itself.
Warning
There are almost no circumstances under which your bot will ever need the Administrator permission. If you do not absolutely need it, you should not have it, as bots with administrator can destroy servers in seconds by deleting channels, mass-banning members, and a multitude of other unpleasant actions. For more info about this please read this tip about bot permissions.
In the end your permissions should look like this:
Now you can copy the URL in the box above, and paste it into your browser, then follow the steps to add the bot to your server of choice. As of late 2021 it is also possible to click invite links within Discord itself to add a bot to your server too.
That's it for the first part of the tutorial, you've created your very own bot user on Discord. Now you just have to do the fun bit - adding features - after all, what's a bot without features?